Viber has introduced Backup feature in the new version 6.1, which has been available since June 6, 2016. In this new version, you can back up photos, videos and audios on Viber direct on your Android phone. In this guide, you can see how to save those media files on the app with the help of the build-in feature. In addition, you can also turn to a program if you want to store your Viber backup on your computer. Read on and see how to perform the backup.
Part 1. Back Up Viber Photos/Videos/Audios Direct on Android
Step 1. Make sure that you are using the latest version on your Android phone for chatting.
Step 2. Run Viber on your Android handset.
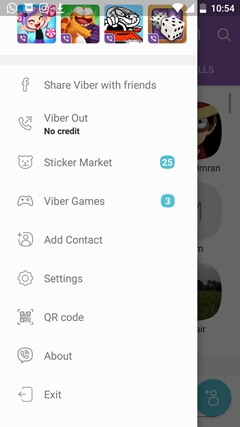
Step 3. Swipe from the left to open the More screen.
Step 4. Touch "Settings" and navigate to "Navigate to Viber Backup".

Step 4. Touch "Not connected to Google Drive".
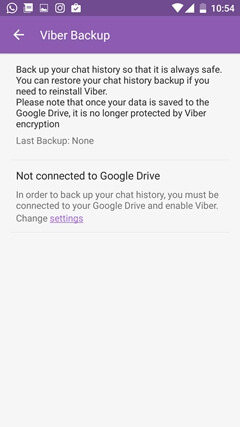
Step 5. Now select any Google account you want to back up your data to.
Step 6. After that, wait with patience. Your Viber photos, videos and audios will be backed to Google Drive on Android Phone.
Part 2. Create Viber Media Backup with Android Data Backup & Restore
Step 1. Download Android Data Backup & Restore
The first step is to get the most important tool-Android Data Backup & Restore. Make sure that the network is available in your computer. Then press the Download button below.
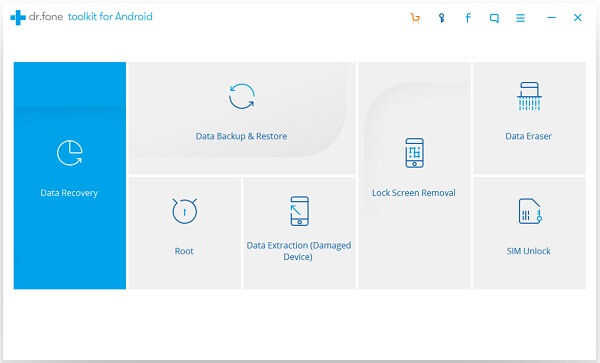
When download is finished, you can install and run the program on your computer. Then go to "Android Data Backup & Restore" to go on.
Step 2. Connect Android to PC
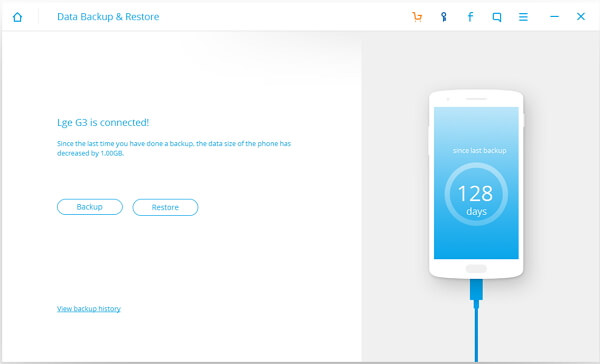
You need to connect your Android to the computer. Finish that with a USB cable. Then turn on USB debugging on your Android phone. After that, you device should be recognized. You can click the "Backup" button.
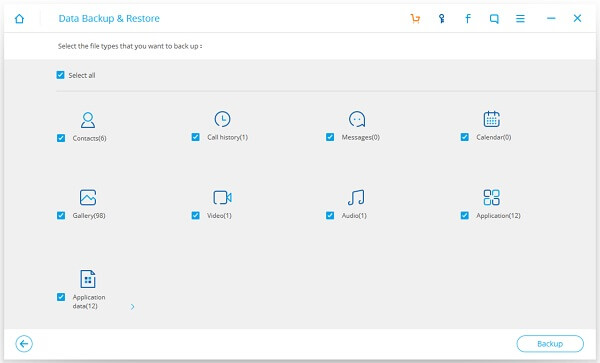
Step 3. Choose Data Type to Backup
To back up Viber photos, videos and audios on your Android, you are required to select "Application Data". Then click the "Backup" button to start the backup process.
Before backing up, you need to precisely choose the file type to back up. This can save time on backup. To back up Viber media files, tick "Application Data". Then click the "Backup" button to start the backup process.
Step 4. Preview Viber Photos/Videos/Audios Backup
After a few minutes, backup should be completed. This dependson the size of your Viber media files. After that, you can click the "View the Backup" button to view the Viber media files.

