If you are around the world of Android for long enough, you should have heard the word "root". Rooting helps you completely control your Android device, which allows you to get more permission. For example, you can uninstall some preinstalled apps, ban advertisements, unlock hidden features and install incompatible apps, boost your phone's speed and battery life, and more. But what you can use to root, how to root and how to deal with problems caused by rooting are still questions to many of you. In this complete rooting guide, you will find the answers.
Part 1. Top Apps for Rooting Android Phone
Top 1. ABP
ABP, for AdBlock Plus, is an app that helps removing advertisements on your Android phone as its name indicates. It is free. And it is a must-have tool for rooting your phone, especially for those who hate ads. However, the app is not available on Google Play Store.
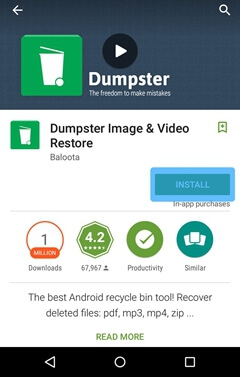
Top 2.Dumpster
Dumpster is a free recovery app which is able to find data you have deleted and then retrieve them. It supports files like photos, videos, music files, documents, PDFs and so on. Once installed, it performs like a recycle bin on your computer and then you can delete files permanently if necessary.
Top 3.Titanium Backup
Titanium Backup is an app that can help you uninstall bloatware (a must have for many people), freeze apps and backup your applications and application data on the Android device. If you have rooted your phone, get this app immediately.
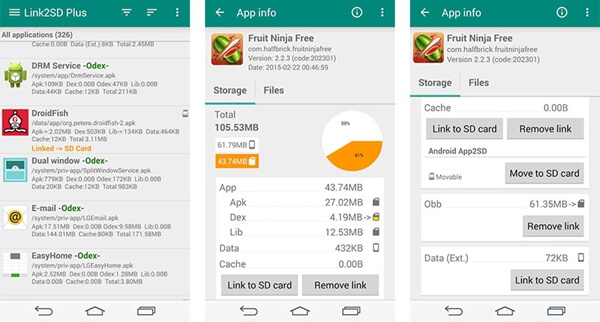
Top 4.Link2SD
Link2SD is capable of moving applications over to your SD card. It creates links so as to make your Android device believe that it is actually on your device. It works for applications that conventional Apps2SD apps do not work on. Link2SD can make use of your external SD card space. Although it is not as good as Marshmallow's adoptable storage, it is a good choice.
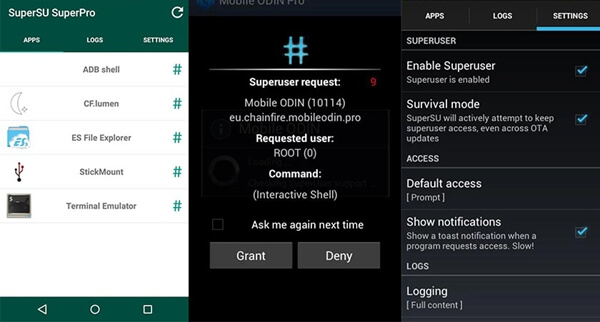
Top 5.SuperSU
SuperSU is a solid root application with lots of features. It is like a front door on your Android phone that prevents old root apps from going nuts. With this app, you can fully unroot your Android phone.
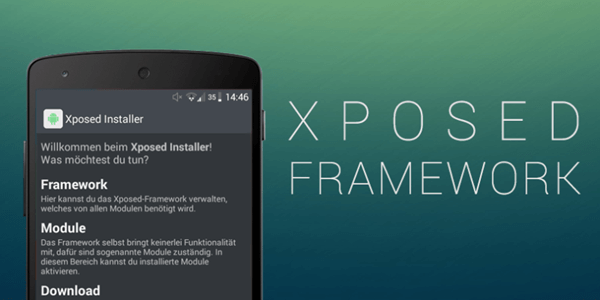
Top 6.Xposed framework
Xposed Framework, as the default root experience, has replaced installing ROMs for many users. It can do various things like theming, visual modification, UI and performance tweaks, button remapping and so on.
Part 2. How to Root Android
Step 1. Backup Android
The most important thing you need to do before rooting is to backup your Android phone in the event that files get lost during rooting.
Step 2. Download and Install Android Data Recovery
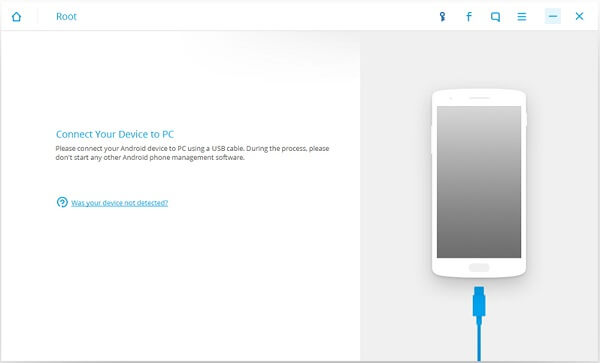
Click the download button below to get the program. Then install it on your computer. Click the icon and open it. Then connect your Android phone (Samsung Galaxy S7 Note for example) to the program with a USB cable. You will need to enable USB debugging so that the phone is recognized by the computer.
When your phone is connected, choose "More Tools" > "Android Root". Note that during the process, do not start any other Android phone management software.
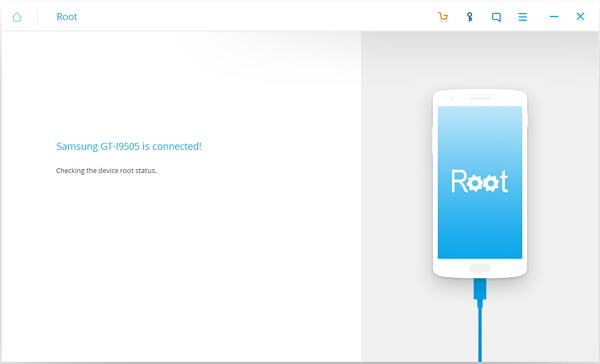
Step 3. Check Root Status
Android Data Recovery is checking the root status of your Android phone to see if the device is rooted or not.
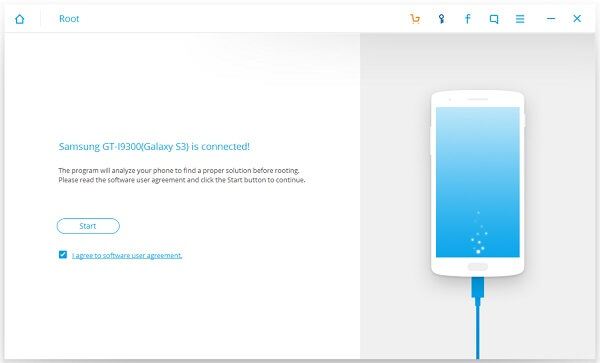
If your phone is unrooted, you will have the window as below. The program will detect your phone to find an appropriate solution before rooting. Please read the software terms and agreements and tick the option to agree the agreements. Then click the Start button to continue.
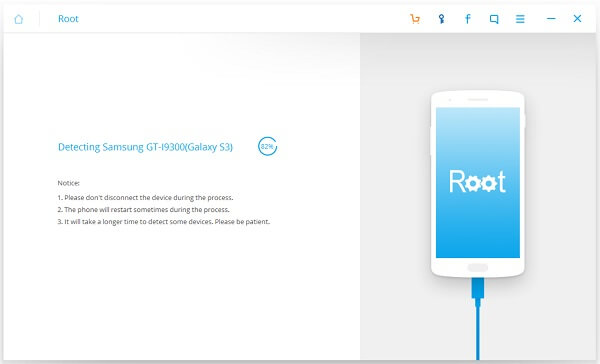
Step 4. Check If Device is Support or Not
Next, the software will check if your phone is supported or not. Please do not eject your phone during the detecting process. The phone will restart sometimes when detecting. And it will take longer to detect some phones.
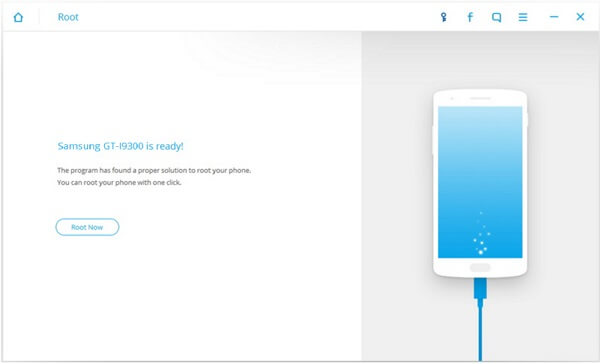
Step 5. Start Rooting
When your device is ready, just click "Root Now" to begin rooting your device. When this completes, you will be prompted by the notices saying "Phone Rooted" and "Model downloaded".
Part 3. Recover Data Lost During Rooting
If you lose your data when rooting the device, you can get them back with Android Data Recovery.
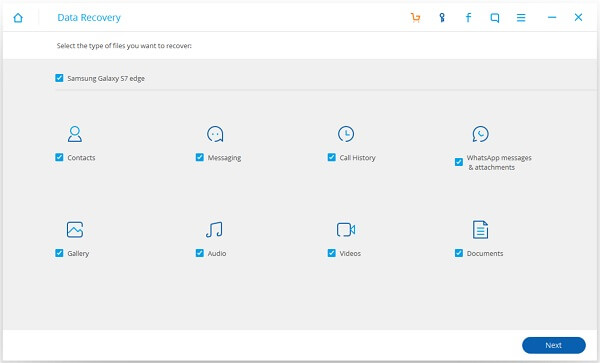
Step 1. Connect Deice to PC
Run Android Data Recovery on your computer. Then connect your phone to the computer and enable USB debugging. When all is done, select types of data you want to regain. Then click the "Next" button.
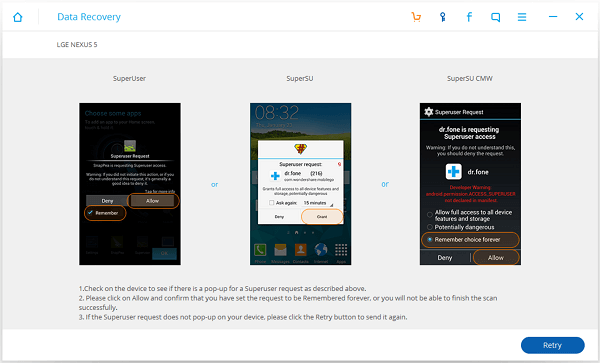
Step 2. Allow Superuser Request
You should receive a Superuser request on your phone. Go and tap the "Allow"/"Grant". This will allow the program to access your Android phone and scan data in it.
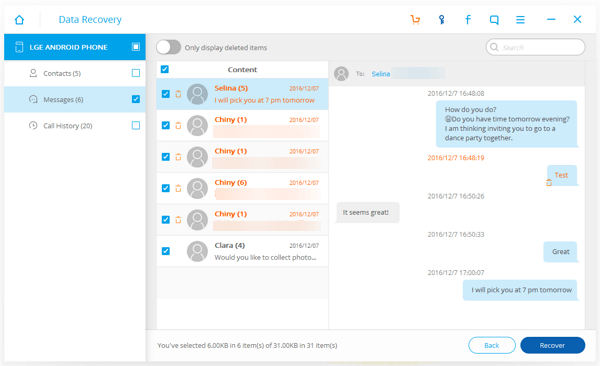
Step 3. Select and Recover Lost Data from Android
When scanning is completed, you choose file types for further preview, such as contacts, messages, pictures, music and more. On the interface, you can click and read one by one. Then select the ones you are going to restore and click the "Recover" button to get back your files.