KingRoot failed to root my Samsung Galaxy Note 5. It just stuck at 90% and stop. I've tried several ways to troubleshoot this failure including using a different cable or different computers (Win 7/8/10), making sure debugging is on, allowing apps from outside sources and unchecking verify apps via USB, etc. But it doesn’t work and this is getting really frustrating. Are there other reversible rooting methods that I can take a shot? Please help!
People Also Read:
● How to Root Android with Root Genius?
● How to Repair an Android Phone with Black Screen?
The question above is from one of the users who wanted to root the Android phone but failed with KingoRoot. In most cases, the reasons why it fails to root could be:
1. The KingRoot version you downloaded is not the latest one. Just try the new version once it is released.
2. Android version above 5.1 is not supported by KingoRoot.
3. Bootloader is locked by manufacturer. Users could not make any changes with the system with bootloader being locked. So it would cause the rooting failure.
So if you are not able to root your Android device successfully, you can troubleshoot the causes and find out the correct solution like downloading the latest KingRoot version, unlocking Bootloader and so on.
Part 1: What to Do before Rooting?
Rooting your Android device allows you to get rid of the limitations set by your manufacturer like unlocking the operating system so you can install unapproved apps, update the OS, replace the firmware and so on. But before you decide to root your device, you need to pay attention to the following notes:
- Sometimes it may take you a long time in the rooting process. So please make sure your battery is charged to 80%. Actually, a 100% charged battery is even better.
- Before you root your Android device, please do back up data that is important for you to prevent from data loss if it fail to root.
- Please make sure that you have download and installed the correct driver for your Android phone on your PC. If not, just download one from the official website of your manufacturer.
- Enable USB debugging on your Android phone.
- Choose a rooting method that fits your device most and then you can find out the rooting tutorials from the Internet.6. You can download Root Checker to check if your device is rooted or not after you finish the rooting steps.
Part 2: What to Do When Rooting Goes Wrong?
The failure of rooting might lead to several issues, and some of them are quite annoying indeed, like Data Loss, Stuck at Rooting Process, Unknown Network Error and so on. Below I'm going to show you how to address these major problems. Please learn your way around.
Data Loss After Rooting
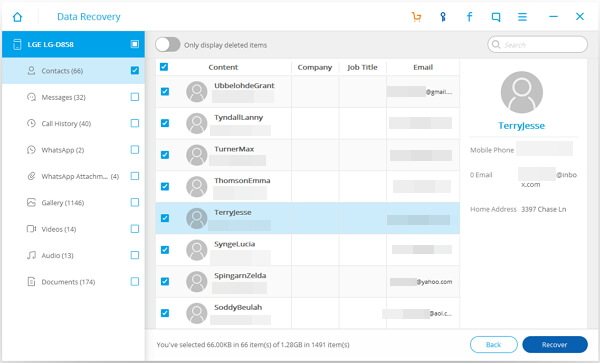
If the rooting doesn't go smoothly, it would cause data loss when it failed. Since rooting is something related to the core system of your Android, it's really a risk. Therefore, it's a must to back up your Android at first before getting rooted. If data loss happens after the rooting failed, I'm afraid that there is the one and only way - Android Data Recovery - to directly retrieve data after rooting.
Stop and Stuck At the Rooting Process
Some have reported that the Kingoroot stop and stuck at 90% getting no further response. If this situation persists over 45 minutes, you should consider the possibility that the rooting failed already. To forcibly cease the process, you have to hard stop the rooting by holding down “Home" and “Power" buttons together until the screen dims.
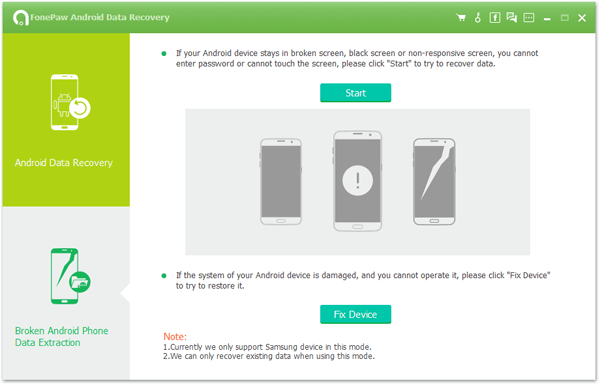
Also, you can try Android Data Extraction to restore Android from unresponsive screen death problem. It's a professional tool especially for solving Android system issues. Simply hook up to the program and it will do all the rest for you. You should give it a shot.
Kingoroot Unknown Network Error
Sometimes Kingoroot failed or stops at 90% due to unknown network error. In such a case, you should check out whether or not the network/router is working normally. If not, you might have to cease the process and re-install Kingoroot or try the alternative instead.

Part 3: The Alternative Way to Simply Root Your Android?
You may have lots of methods to root your device. But just like KingoRoot, you can not always root your phone successfully. What’s more, it may take you hours for the rooting work with complex steps. So I want to introduce you a simple way to achieve the same result with Android Data Recovery. Please download the program on your computer and have a try!
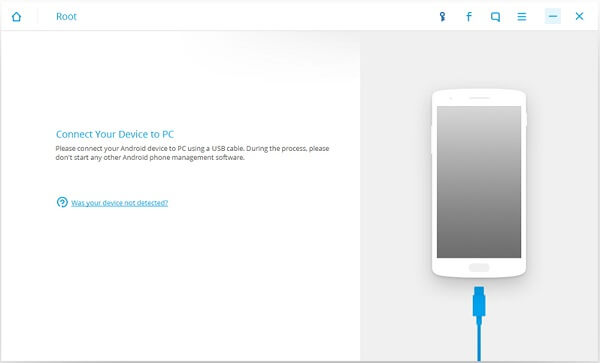
Step 1. Launch the Program and connect Device to PC
Once you download the program to your computer, please launch it and click "More Tools" at the left pane. Then connect your Android device to PC via the USB cable that is matched. After that, you need to go to go to your device and enable the USB debugging.
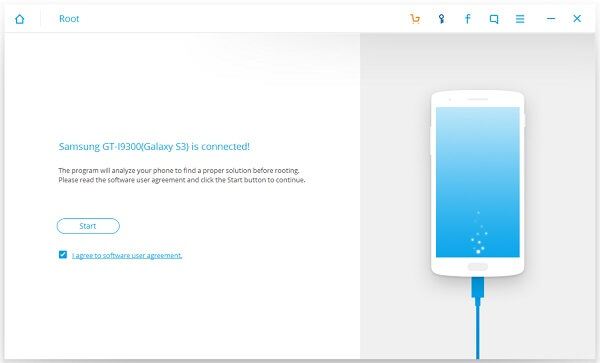
Step 2. Check Device Root Status
The program would check the root status of your Android Phone automatically. If your device hasn't been rooted yet, it turns out the result is as the screenshot below. Please click "Start" to continue.
 a
a
Step 3. Detect the Android Phone
Now the program would detect your device and check if the model is supported or not. But sometimes it may take you a long time to scan which refers to the different phone model, please wait patiently. If it is supported, you will see the interface as below.
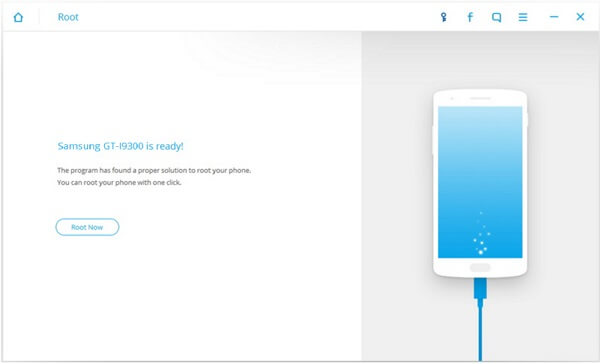
Step 4. Root Your Android Phone
Please click the "Root Now" button and the program would find out a proper way to root your device. Wait for a moment and the job is done!
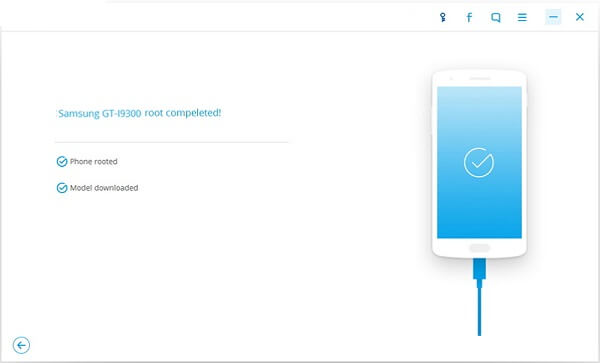
You can root your device in four simple steps, so why not give it a shot? Any questions please drop us a comment below!
