Have you ever gone through a data lost experience like this? Walk on a crowded street. Talk with a friend about the discount skirts. A few minutes later, iPhone in the pocket disappears. What you lost is not only your costly iPhone, but also your files on the device with iOS 7/8/9/10, including the contacts of your vital clients, photos of your family and videos of your little baby. Well, do not worry and blame yourself. Your information can be get back now because of the iPhone Data Recovery.
What is iPhone Data Recovery? It is a program helps retrieving lost data from your Apple device. Two working modes of the program are designed as "Recover from iOS Devices Directly" and "Recover from iTunes/iCloud Backup Files".
Download the iPhone Data Recovery and learn to use it with the help of tutorials.
Part 1: Recover from iOS Device Directly
Step 1. Connect Your Device to a Computer
First of all , you need to connect your Apple device to your PC and run the iOS Data Recovery. Interface as follow occurs. Click "Start scan" to detect your iDevices including iPhone 7/7 Plus/6s/6s Plus/iPad Mini 4/iPad Pro.

Note: During this procedure, you can choose standard mode to recover deleted/lost files, such as messages, contracts, call history, and etc. Advanced Mode is for media files, such as photos and videos recovery. It takes more steps and time to finish.
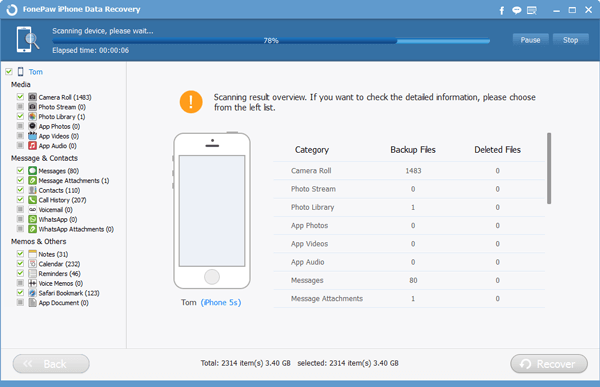
Step 2. Starts Scanning and Choose Your Data
This process is extremely simple. The time it costs depends on the amount of the chosen content.
Step 3. Regain Deleted Files
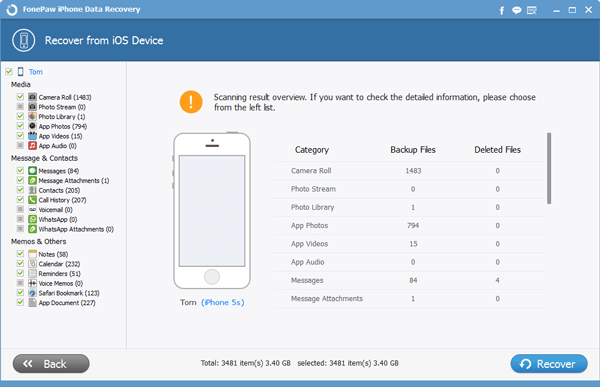
When you complete the scanning procedure, the window shows up and reminds you to choose the data you want. Just click "Recover" to restore it.
Note: For iPhone4/3GS, iPad 1 and iPod touch 4, media contents like Camera Roll and Photo Stream can be recovered from iOS devices. New models can recover contents from the previously backups. Thus we strongly recommend a backup of your device in case of the data lost.
Part 2: Recover from iTunes Backup File
Step 1. Scan your iTunes Backup
Launch iPhone Data Recovery application and click "Recover from iTunes backup files". Choose the files need regaining and click "start again".

Step 2. Preview and Recover Information
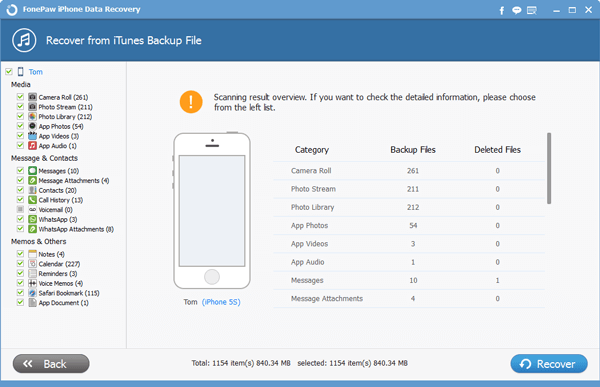
After the scanning, window as bellow occurs. Choose the information as you like and click "Recover". Then you can get your files back at ease.
Part 3: Recover from iCloud Backup File
Step 1. Log in iCloud Account
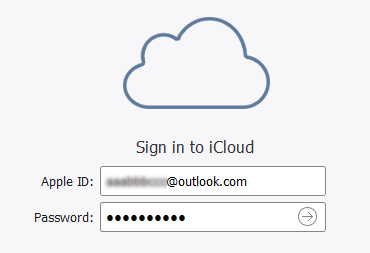
Run the iOS Recovery program and choose "Recover from iCloud Backup File" mode. Sign in your iCloud account.
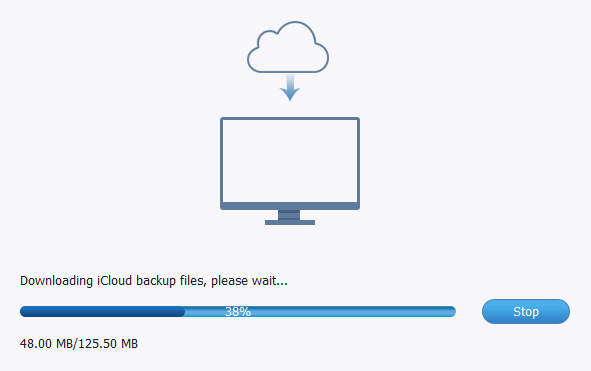
Step 2. Download iCloud Backup Files
Download previously saved backup files from iCloud. Click "Scan" and choose the files you want. Last, click "Recover" to finish the recovery.
The whole process has completed. Do you have any interests in experiencing our creative design? Don't hesitate. Take action and download it. After using, you can leave your comments because your feedback is significant to our progress.
