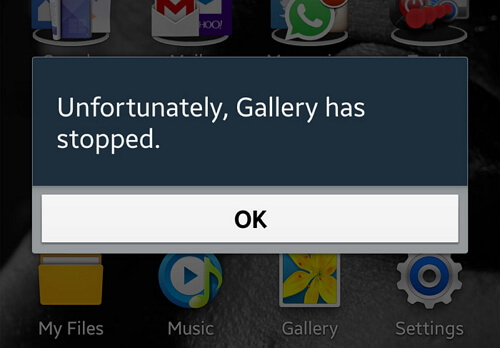
Have you ever been in trouble with such a situation: Tap on the "Gallery" app. However, no recordings of precious moments pop up but a warning error instead - "Unfortunately Gallery Has Stopped". This prompt keeps preventing you from accessing photos on your Samsung device.
People Also Read:
● Samsung Stuck in Startup Loop Screen? Get Your Way out!
● [Resolved] Firmware Encountered an Issue on Samsung Galaxy/Note
Ever the latest ones like Galaxy S7/S8 cannot be free from such a headache. However, it's not a big deal. Please read on and learn your way around why Gallery app got stopped and how to get rid of such an error as below.
Reasons: Why Does Gallery App Get Stopped?
To be relieved, this problem is nothing to do with your operating system nor would it break down your device. The reasons why the Gallery app crashes can be concluded for 2 reasons:
1. Please check out whether photos are being synced automatically but the process goes wrong. If you're using "Google Photos", launch it and stop syncing. If you've set up auto-backup with Samsung Cloud, you might as well switch it off temporarily.
2. Another potential culprit is cached data created via the Gallery app. When cached data got corrupted, it will result in malfunction. I'm going to show you how to clear cache in Method 1.
Notes: Try These Before Going Any Further
Before you proceed to the methods, there are a few tips you should try out in the first place. Some users have got the problems solved via these:
1. Restart your device. Please power off your device so that all apps will be stopped, and then give it a fresh reboot.
2. If the Gallery has stopped due to incompatibility issue, then you should check out whether there is the software update. If yes, please upgrade to the latest one.
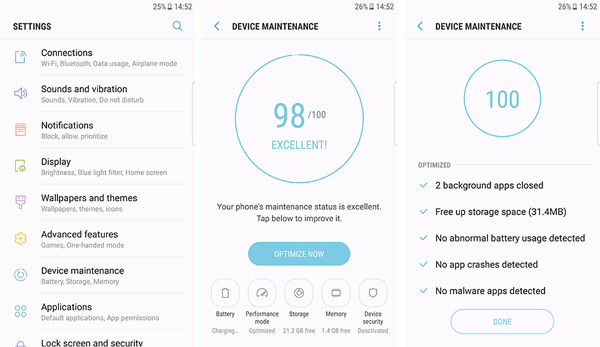
3. As a default optimization app developed by Samsung, "Device Maintenance" helps users find out and solve many nuisances. Please go to "Settings" > "Device Maintenance" and optimize your Samsung if necessary.
Method 1: Clear Cached Data and Force Stop 'Gallery' App
This way is easy and worthy of trying out above all. You need to erase all cached data at first and then force stop the "Gallery" app. Now, let's take a look at the following instructions.
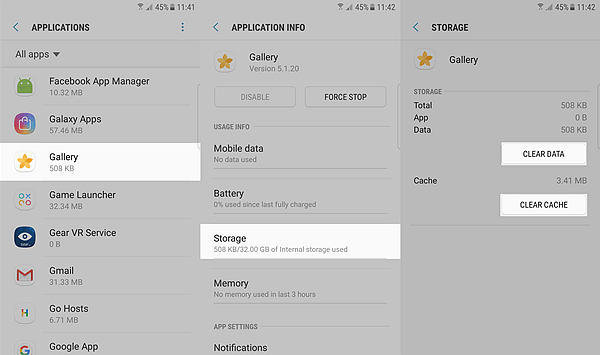
To Clear Cached Data in Gallery:
Step 1. Open "Settings" app on Samsung.
Step 2. Select the "Applications" option.
Step 3. Swipe to "Gallery" and tap on "Storage".
Step 4. Tap on "CLEAR DATA" and "CLEAR CACHE" options.
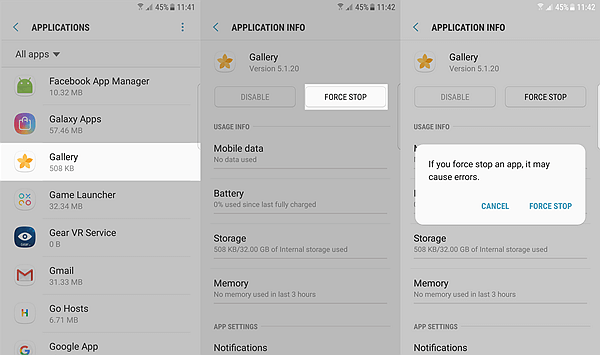
To Force Stop the Gallery App:
Step 1. Tap "Settings" and swipe down to "Applications".
Step 2. Switch to "All apps" tab.
Step 3. Locate and select "Gallery" app.
Step 4. Hit the "FORCE STOP" button.
Method 2: Reboot System Now in Recovery Mode on Samsung
If it's the system glitch that makes such a headache, you might consider restarting the whole system on your Samsung. However, in case that you don't know how to do it, you can check out the following instructions. Yet, the steps vary from device to device.
To Enter Recovery Mode on Samsung Galaxy S7 and Former:
Step 1. Power off your Galaxy with "Power" button.
Step 2. Press and hold down "Volume UP", "Power" and "Home" buttons together until Samsung logo shows, then release all three buttons.
Step 3. When you see an exclamation mark on screen, press and hold "Power" button and press the "Volume Up" button for once.
To Enter Recovery Mode on Samsung Galaxy S8/S8 Plus:
Step 1. Turn off your Galaxy S8 at first.
Step 2. Press and hold down the "Bixby", "Volume up" and "Power" buttons at the same time until the screen turns on.
Step 3. When you see the blue screen, release all the buttons and it's done.
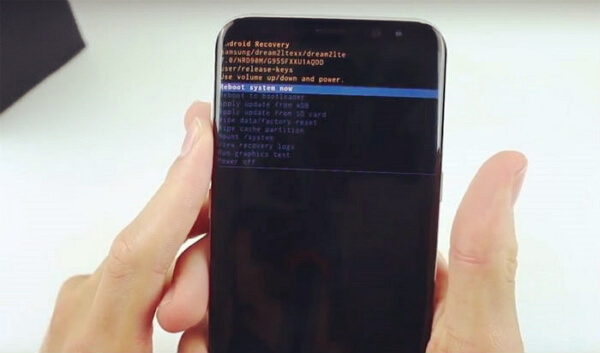
When Samsung is in Recovery Mode, please use volume keys to select "Reboot System Now" and confirm with "Power" button.
Method 3: Factory Reset Samsung Galaxy After Having a Backup
Though this method is actually not recommendable, please try it if you have no ways to go. However, a backup is of vital importance in advance, for factory reset will erase all content and settings on your Samsung. After you do a Samsung backup, please do as following
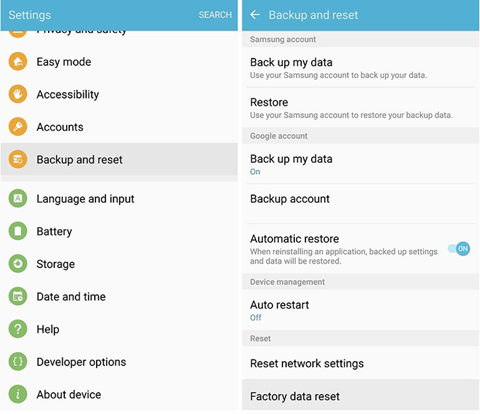
Step 1. Launch "Settings" app on Samsung S8.
Step 2. Go to select "Backup and reset" option.
Step 3. Select "Factory data reset" and confirm.
I'm sure you can launch the Gallery app and appreciate the photos you took now. Please enjoy with your Samsung. Have a good day.
