At the very beginning, let's figure out the term "Jello Effect". Many may never heard about the phrase. But instead of demonstrating the term with some obscure words and sentence, we will explain it with a photo with is shot from a moving train.
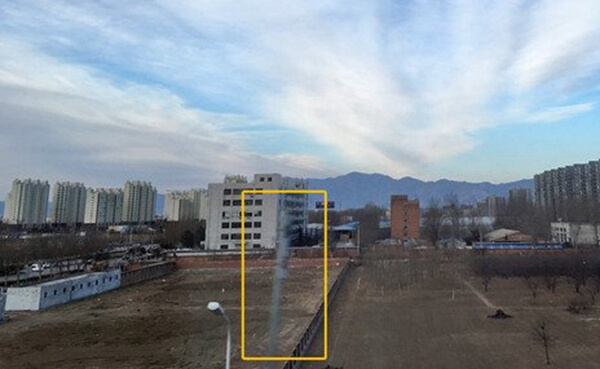
As the illustration shows, you can see a skew in the picture. Indeed the skew is a telegraph pole. And the skew is Jello Effect. Actually, this effect occurs when shooting a quickly running subject by rolling shutter.
Here we will explain how Jello Effect occurs.
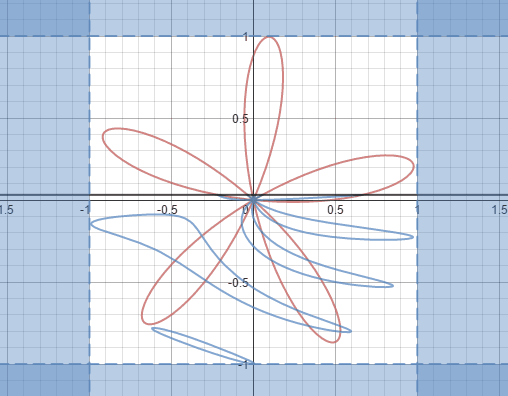
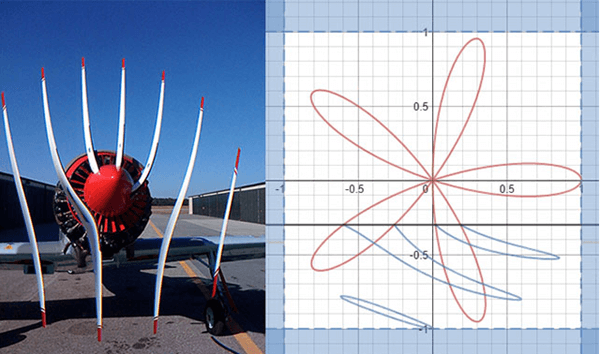
First, you will be told respectively what global shutter and rolling shutter is, and how they work. Global shutter controls incoming light to all photosites simultaneously. At any given point in time, all photosites are therefore either equally closed or equally open. The other, opposed to global shutter, is rolling shutter. It works with the help of APS (Active Pixel Sensors), which read all of their pixels linearly from top left to bottom right while the shutter is open. As the rolling shutter is always open, and "rolling" from top to bottom or from bottom to top, it would result in the now-familiar motion artifacts often referred to as "jello." The .gif picture below will show you dynamically that how the rolling shutter records the image of an rolling airscrew and how the Jello Effect is created.
The below section is about tips for dealing with Jello Effect.
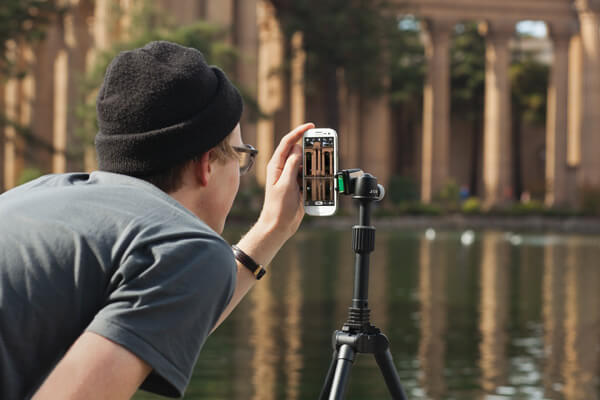
Tips 1. Use Tripod/Monopod/Rig.
Micro-jitter, an issue with nearly any Android camera, is one of the main reasons that lead to Jello Effect. To minimize micro-jitters to the most extent, you can turn to any sort of stabilizer or rig. Evidently, a tripod or monopod can work perfectly in most instances, but for handheld work things get trickier. A shoulder rig is good to eliminate rolling shutter but you need to set up just right. And this is specially applies to digital camera.
Tips 2. Change Your Angles.
Every Android camera has its limitations in various areas, for example, dynamic range, sharpness, detail, color accuracy, and more. If your struggles with Jello Effect, it is wise to work around its limitations and avoid capturing snaps in situations where your Android camera will have the Jello Effect issues.

One important thing to keep in mind involves taking a photo of a moving subject like train, bus, and more. For example, if the subject in the phone screen is moving horizontally from the left to the right, the image would suffer Jello Effect, which makes the image very skewed, even if you were holding the camera steadily. Such horizontal skew is definitely caused by the sensor, which fails to read the entire image at once.
However, when you are on set, what you can do to overcome it is to change your angle. You can shoot from a 3/4 angle or any number of other positions, which help you avoid the skew. Of course this will limit your creation but it can entirely avoid the Jello Effect.
Tips 3. Fix it in Post.
Sometimes, "fix it in the post" is the best solution to fix the Jello Effect depending on the severity of the rolling shutter artifacts. You can finish fixing your photo with compositing software. There are a myriad of options out there. You can google the one that works best for your Android camera and software combination. Here is a guide for reducing Jello Effect in Final Cut Pro X.
Nevertheless, I would never rely on fixing the Jello Effect in post if unnecessary. It is the best choice to avoid the problem in the first place.
